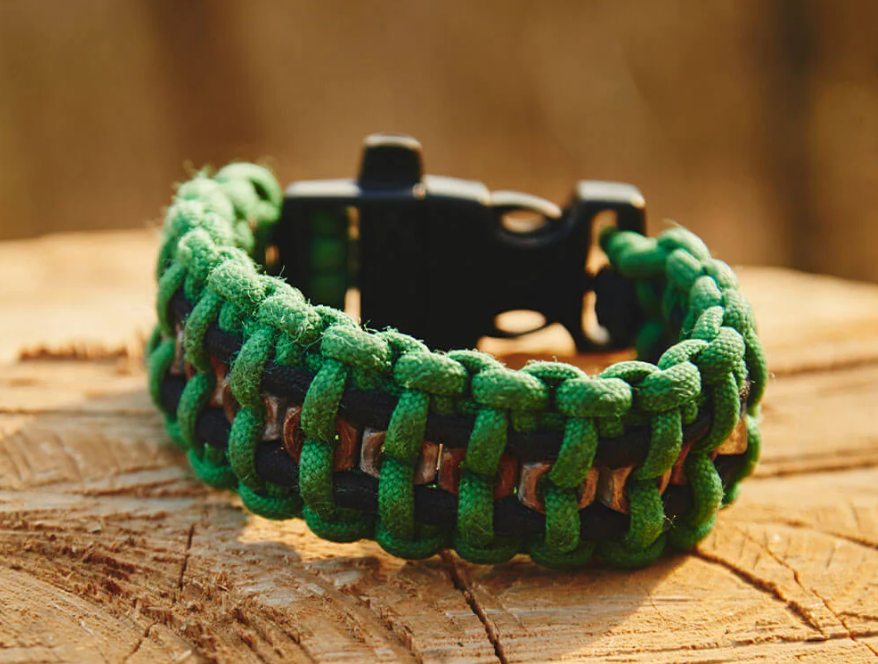

Paracord’s one of those little things that, honestly, kind of sneaks up on you. It’s super light, strong enough for most trail stuff, and doesn’t take up space. So, yeah, it’s easy to ignore—until you need it and suddenly realize it does, well, pretty much everything.
If you’re the kind of person who hikes or sleeps in a tent on purpose, having a few short cords can save your gear—or just make it all way less annoying. For example:
- Loop a knife or light so it doesn’t bounce into a stream
- Make zipper pulls that don’t disappear in your gloves
- Clip stuff like bottles or bags to your pack without needing fancy hooks
Also, if you’re into making your gear more you, you can totally add those chunky little paracord beads for lanyards. Pick colors that match your jacket, your vibe, or just help you tell one zipper from another in the dark.
This isn’t a hardcore survival course or anything. These are simple projects you can knock out on your kitchen table with scissors and some string.
What You Actually Need to Pull These Off
You won’t need a garage full of tools. It’s mostly just cord and a few little extras:
Stuff to Work With
- Some 550 paracord (or something close)
- Optional: paracord beads for lanyards – could be wood, plastic, shiny metal… whatever feels right
- A couple of key rings or tiny split rings
- 1–2 mini carabiners – not the climbing kind, just the cheap gear ones
Stuff to Use
- Scissors or a pocket knife
- A lighter or matches to clean up the ends
- Somewhere flat to work without losing things under the couch
Brighter cord colors make life easier. They show up better in your bag, and they’re easier to learn on when you’re just figuring it out.
Project 1: A Chill Wrist Loop So You Don’t Lose Your Flashlight
Ever drop a knife or light in the woods and instantly regret everything? Yeah, this helps with that. A wrist loop keeps your gear stuck to you—even if you’re cold, tired, or working one-handed.
Step 1: Snip Some Cord
- Cut a piece around 40–45 cm long. That’s, like, a little more than a foot and a half.
- You want wiggle room for knots and enough to actually get your hand through the loop.
Step 2: Hook It to Your Tool
There’s usually a hole or a little slot at the end of your flashlight, multitool, or whatever.
- Thread one end of the cord through that hole.
- Pull it until both ends match up. You should see a loop on one side now.
Step 3: Tie the Wrist Loop
- Decide how loose you want it on your wrist.
- Tie a simple overhand knot using both strands.
- Make sure it’s snug enough to not fall off, but not so tight it cuts off your blood flow.
Step 4: Add Some Personality (Optional Bead Time)
Want a better grip or just something that looks cool?
- Slide both free ends through a bead.
- Push it down near the knot.
- Tie a little stopper knot below it so it doesn’t wander off.
Step 5: Burn the Ends (Carefully)
- Trim off the extra bits.
- Use a lighter to slightly melt the cord ends. Flatten gently using something metal—not your hand unless you enjoy regrets.
To Use It
- Slip it on your wrist before using your gear.
- If your tool slips, it doesn’t fall far.
- The bead helps you dig it out of a pocket without a fight.
Project 2: Zipper Pulls That Pop and Don’t Freeze Your Fingers
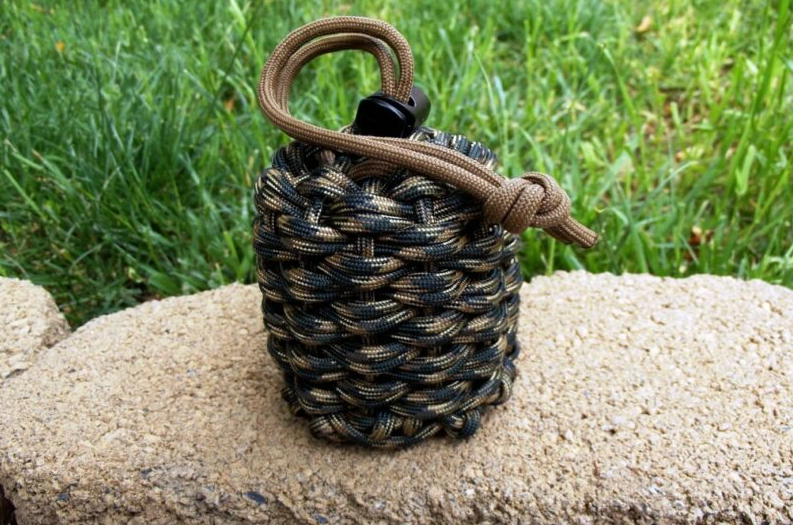
Tiny zippers and cold hands? Worst combo. These paracord pulls fix that problem in, like, 30 seconds.
Step 1: Pick Your Zippers
Go for the ones you actually use:
- Jacket zippers
- Tent doors
- Sleeping bag
- Your pack’s pockets
Step 2: Cut and Loop
- Cut cord into pieces about 10–12 cm long.
- Fold each one in half and thread the bend through the zipper tab.
- You should now have a little loop on one side and two tails on the other.
Step 3: Knot It
- Tie the two loose ends in an overhand knot a few cm below the zipper.
- Tug it tight. Boom, instant pull tab.
Step 4: Add a Bead (Optional But Helpful)
- Slide a bead down over both cord ends.
- Put it just above your knot.
- Tie another tiny knot below to lock it in place.
You can even color-code your zippers with different beads. Maybe red means “first aid,” blue means “snacks,” and glow-in-the-dark means “headlamp pocket.” Totally up to you.
Step 5: Finish It Off
- Cut and melt the ends.
- Give it a tug with gloves on. If it’s easy to grab, you nailed it.
Why Bother?
- Bigger grip = no more cursing at zippers
- Bright color = easy to see at night
- Bead bump = you can find it by feel in the dark
Project 3: Clip-on Gear Loop for Bottles, Maps, or Random Bits
This one keeps your essentials up front and not buried six layers deep in your pack. It’s just a little loop and a clip, but wow does it make life easier.
Step 1: Cut a Chunk of Cord
- Start with about 25–30 cm—roughly a foot long.
- You can always shorten it later.
Step 2: Optional Bead Flair
- If you want to spot this loop quickly, slide a bead toward the middle now.
- It’ll chill at the bottom of your loop.
Step 3: Tie a Loop
- Bring the two ends together.
- Tie a basic knot near the ends to make a full loop.
- Check the size—it should fit around a bottle neck, strap, or clip.
Step 4: Use It
For bottles:
- Loop it through the handle or around the neck.
- Feed the knot end through the other side of the loop and pull tight.
- Clip it to your bag with the carabiner.
For other gear:
- Thread through whatever loop or tab your gear has.
- Pull one end through the other and snug it up.
- Clip it to your pack wherever it’s handy.
Step 5: Test Walk
- Strap it on and do a lap around your space.
- If it smacks your knees, shorten the cord.
Why You’ll Like It
- Grabs your stuff fast
- Saves you from unpacking mid-trail
- Helps keep your hands free and your water reachable
Staying Safe While Tying Things to Blades (Seriously)
This part’s important—even if you’re just doing casual stuff. Paracord is fun, but knives aren’t toys.
- Shorten your cords. Anything swinging around can snag.
- Close the blade first. Obvious, but easy to skip.
- Tug-test your knots. Loose cords = surprise drops.
- Know your gear’s limits. Don’t trust dollar-store carabiners with anything heavy.
- Pay attention to where stuff hits. If something’s rubbing you raw or getting in the way, fix it before you hike out.
How to Practice Without Leaving Your House
You don’t need a mountain to learn this stuff. Some ideas:
- Toss your gear on the couch and decide where each cord could help.
- Practice a couple of knots while watching a show.
- Test a project on your everyday bag. See how it holds up.
- Play with colors and beads until it feels like yours.
The more you mess with paracord now, the more automatic it’ll be on the trail later.
Tiny Projects, Big Trail Confidence
These little add-ons aren’t about showing off or over-planning. They’re about making your stuff yours, and making life a little smoother out there.
With just some cord and a few knots, you get:
- Tools that don’t vanish into grass or snow
- Zippers that actually work with gloves
- A setup that looks and works how you want it
And honestly? That small moment of fixing something yourself—it gives you this low-key, quiet kind of confidence. Like, yeah, you’ve got this.
Let me know if you want a printable version or if you’d like to turn this into a PDF handout or visual guide!